
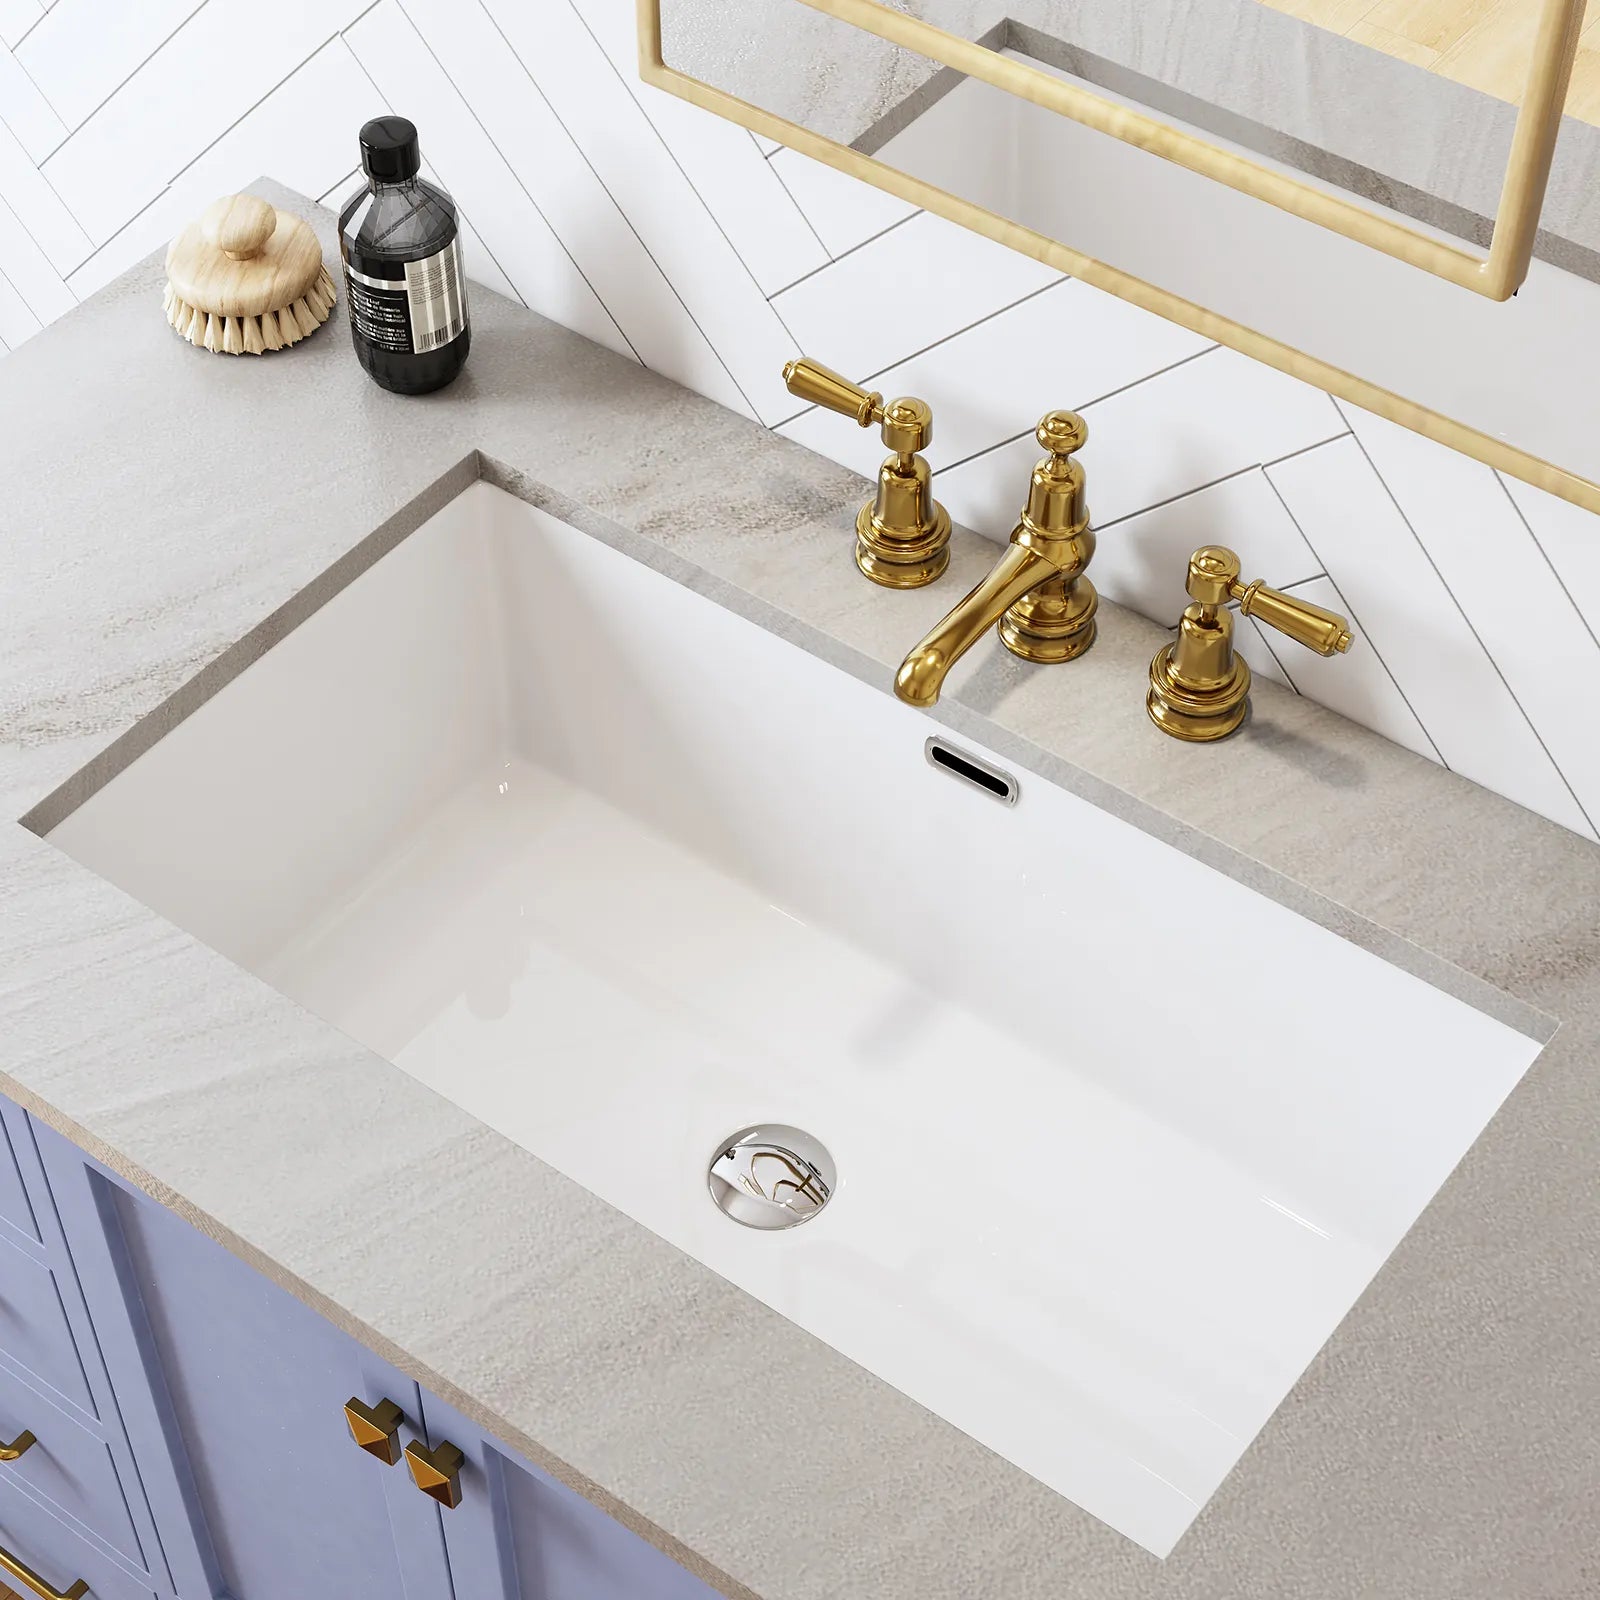
How to Replace a Bathroom Sink
Replace a bathroom sink with clean, leak free connections. This guide covers shutoff, removal, faucet and drain install, and final seal.
Confirm the new sink and parts
Match the new sink to your setup. Check if it is drop in, undermount, or pedestal. Make sure the faucet and drain kit fit the sink hole sizes.
If you are changing the drain type, buy the matching tailpiece and trap parts.
Clear the area and shut off water
Remove items from the vanity. Turn off the hot and cold shutoff valves. Open the faucet to relieve pressure.
If the valves do not shut fully, turn off the main water supply.
Disconnect the drain and supply lines
Place a bucket under the trap. Loosen the slip nuts and remove the trap. Disconnect the supply lines from the shutoff valves and faucet.
Do not force plastic nuts. Use gentle pressure to avoid cracks.
Remove the old sink
Cut any caulk around the sink edge. Loosen mounting clips under the rim if present. Lift the sink out and remove any old putty or silicone.
Protect the countertop surface while prying.
Install the faucet and drain on the new sink
Install the faucet and pop up drain while the sink is easy to access. Use plumber putty for metal drains or silicone for plastic parts.
Follow the faucet instructions for gasket placement.
Set the sink in place
Dry fit the sink first. Apply a thin bead of silicone under the rim if required, then set the sink. Tighten mounting clips if your sink has them.
Wipe away excess silicone before it skins over.
Reconnect the drain
Reconnect the tailpiece and P trap. Make sure the trap arm lines up with the wall drain without stress.
Hand tighten first, then give a quarter turn with pliers.
Reconnect supply lines and test
Attach the supply lines and open the shutoff valves slowly. Check all joints for drips and tighten as needed.
Run water for a full minute and check under the sink with a dry paper towel.
Seal and finish
Apply a clean bead of silicone where the sink meets the wall or countertop. Reinstall items and clean the area.
Let silicone cure per the label before heavy use.
📋 Related Building Codes
IPC · Ch.4 — Fixtures, Faucets and Fixture Fittings
§403.1 · Toilet Facilities
View reference (2021) →
Always consult local codes before proceeding.
Materials Required
| Product | Qty |
|---|---|
📦Other Materials1 item | |
 2 in. x 4 in. x 8 ft #2 Premium #2 Grade Fir Dimensional Lumber | 1 |
2 in. x 4 in. x 8 ft #2 Premium #2 Grade Fir Dimensional Lumber
1
* Prices are estimates and may vary. Always verify at checkout.
Want to be kept in the loop?
Get notified when we publish new guides and planning tools.
See something off?
Report safety issues or inaccuracies.
Safety & Legal Disclaimer
This guide is for informational purposes only and does not constitute professional engineering, architectural, or contractor advice. Building codes vary by jurisdiction — always verify local requirements, obtain all required permits, and consult a licensed contractor or structural engineer before beginning any construction project. Aribuilds makes no warranty as to the accuracy, completeness, or suitability of this information for any particular project. Use of this guide is at your own risk. Aribuilds accepts no liability for personal injury, property damage, structural failure, or code violations.
Product links on this page may be affiliate links. Full terms, disclaimer & affiliate disclosure →