

How to Install a Dimmer Switch
Install a dimmer switch in about an hour. This guide covers safety, single pole versus 3-way wiring, and common LED flicker fixes.
Pick the right dimmer and bulbs
Check whether your switch is single pole or 3-way. The dimmer must match. Look for LED compatibility and the max wattage rating. Some smart dimmers need a neutral wire, so confirm one is present before buying.
If you are unsure about 3-way wiring, buy a dimmer labeled 3-way or multi-location and follow the diagram in the box.
Shut off power and verify
Turn off the breaker for the room. Use a non-contact voltage tester on the switch wires to confirm power is off before touching anything.
If the tester still beeps, you shut off the wrong breaker. Find the correct one before continuing.
Remove the old switch
Unscrew the wall plate and the switch. Pull the switch out gently so you can see the wires. Take a clear photo before you disconnect anything.
Label the wires so you can match them to the new dimmer.
Identify line, load, and travelers
Single pole switches have one line and one load wire. 3-way switches have a common wire plus two travelers. The common is usually on the darker screw. Use the photo and the label on the old switch to identify it.
If the wires are not clear, stop and look up the model number of your existing switch or consult a licensed electrician.
Connect the dimmer
Connect the ground first, then line and load. For 3-way dimmers, connect the common and the two travelers as shown in the manufacturer diagram. Cap any unused lead if the dimmer has one.
Use the connectors that come with the dimmer if provided.
Mount the dimmer in the box
Fold the wires neatly into the box. Keep the connections behind the dimmer, not pressed against the side. Secure the dimmer with the mounting screws.
Do not force the device into the box. If it does not fit, check wire length and box depth.
Restore power and test
Turn the breaker back on and test the dimmer at low and high settings. If LEDs flicker, verify the bulbs are dimmable and check the dimmer trim adjustment if it has one.
Do not exceed the dimmer wattage rating.
Install the wall plate and finish
Install the wall plate, wipe the area clean, and do a final test. You should have smooth dimming without buzzing or flicker.
If the dimmer buzzes, try a different brand of dimmable LED bulb.
📋 Related Building Codes
NEC · Ch.2 — Wiring and Protection
§210.52 · Dwelling Unit Receptacle Outlets
View reference (2023) →
Always consult local codes before proceeding.
Materials Required
| Product | Qty |
|---|---|
📦Other Materials1 item | |
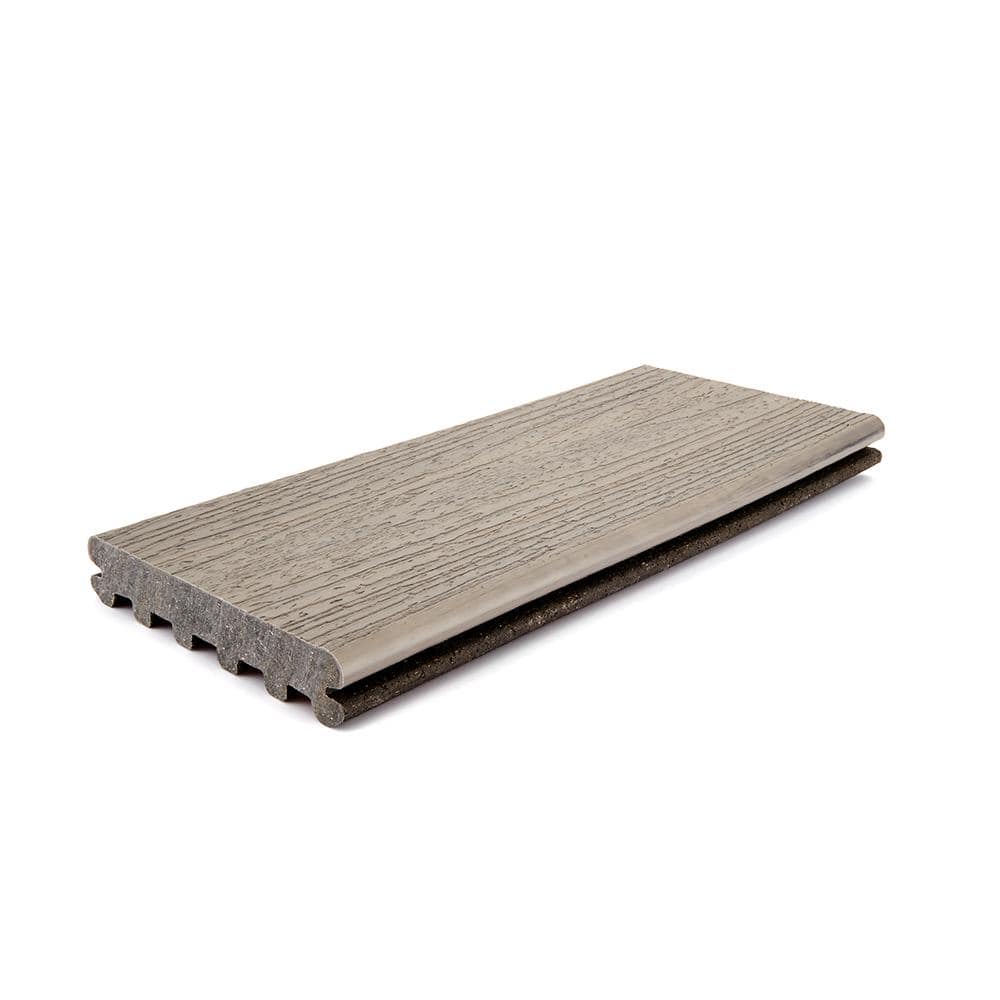 Enhance Naturals 1 in. x 6 in x 16 ft. Rocky Harbor Grooved Edge Grey Composite Deck Board Trex | 1 |
Enhance Naturals 1 in. x 6 in x 16 ft. Rocky Harbor Grooved Edge Grey Composite Deck Board
Trex
1
* Prices are estimates and may vary. Always verify at checkout.
Want to be kept in the loop?
Get notified when we publish new guides and planning tools.
See something off?
Report safety issues or inaccuracies.
Safety & Legal Disclaimer
This guide is for informational purposes only and does not constitute professional engineering, architectural, or contractor advice. Building codes vary by jurisdiction — always verify local requirements, obtain all required permits, and consult a licensed contractor or structural engineer before beginning any construction project. Aribuilds makes no warranty as to the accuracy, completeness, or suitability of this information for any particular project. Use of this guide is at your own risk. Aribuilds accepts no liability for personal injury, property damage, structural failure, or code violations.
Product links on this page may be affiliate links. Full terms, disclaimer & affiliate disclosure →